
Well, while waiting for my rpi device came, i search many article about installing the device. i found complicated and simpler way to do. Simpler way to install rpi device is my choice.
Open Raspberry Pi web site
Download Raspberry pi imager
Install the Raspberry Pi Imager App and run it
Prepare the SD card, 32 GB and Class 10 is recommended. I don’t want to create a file server, so 32 GB is sufficient.
On Raspberry Pi Imager
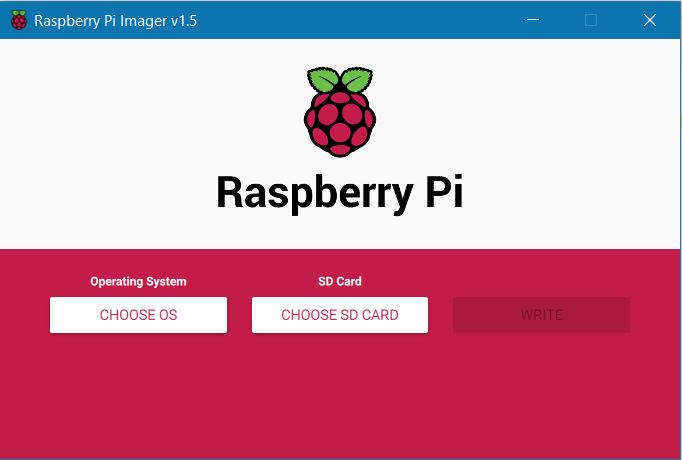
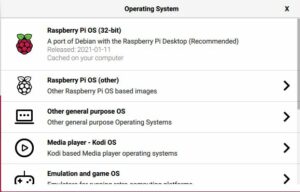
Choose OS –> select Raspberry Pi OS
You will be navigated to Raspberry Pi Imager App –> Select Choose SD Card then Click Write
It will download the OS at it took a while so grab tea, coffee, water and pop corn then wait.
After finished remove the SD Card from your computer and insert it to SD Card on on Raspberry Pi device.
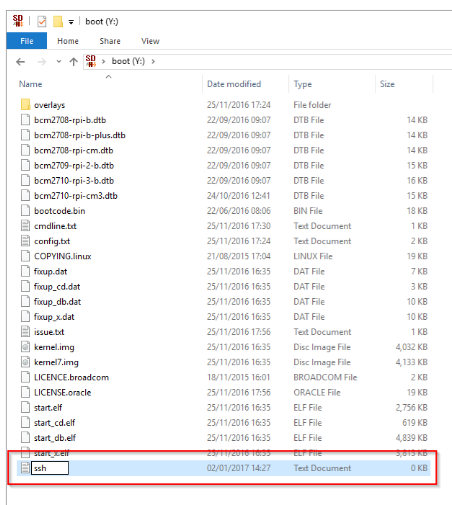
a. Headless
create empty file named ssh and put in SD Card boot partition
To connect using wifi, create file wpa_supplicant.conf di Raspberry boot Drive
ctrl_interface=DIR=/var/run/wpa_supplicant GROUP=netdev
update_config=1
country=ID

network={
ssid="ssid_name"
psk="ssid_password"
}

Open SSH client and login with following info
Login to wifi Router and get the IP
user name : pi

Password  : raspberry
b. Headfull
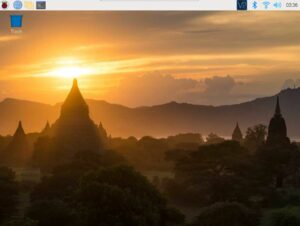
Power On the Raspberry Pi device, connect it to Monitor or TV using HDMI Cable (it will boot in GUI mode), do not forget to attach Keyboard and Mouse as well.
By default, it will come with username pi and better change the password.
Click Change Password
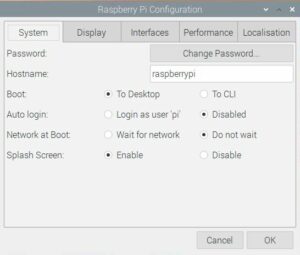
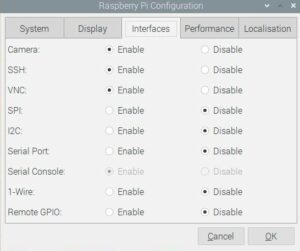
Navigate to Start Menu –> Preference –> Raspberry Pi Configuration –> Interfaces and enable
SSH : to connect using SSH (Text Mode)
VNC : to connect using GUI
Camera : for camera usage
Get the device IP Address by open the terminal and type ifconfig
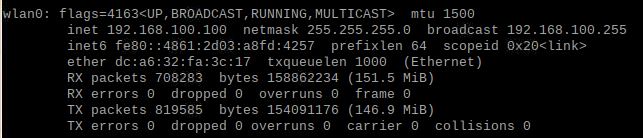
It’s dynamic IP assigned by your WiFi Access Point, and it will automatically change after sometime.
To make life easier we need to statically assign the the IP Address
Run Comamnd sudo nano /etc/dhcpcd.conf
change the eth0 to wlan0 since we will use WiFi

Save the static IP address.
You can remove the HDMI cable, Mouse and Keyboard.
To remote the device, you can install VNC Viewer on your PC if you love GUI or SSH access.
The choice is yours, enjoy!!
Next Step is to setup the networking part.